Have you ever wondered how to improve your website’s visibility in search engine results (SERPs)? Schema markup can help!
By adding special coding to your web pages, you provide search engines with more context about your content.
In this blog, we’ll learn about different types of schema and follow our easy tutorial to implement it on your website.
Schema Markup: What It Is, and How It Can Improve Your Website’s SEO
Schema markup is a special code to your web pages, empowering your website to give search engines more context about your content.
This helps them understand your website better and display your content more accurately in search results. For example, you can use schema to highlight product prices, event dates, or article authors.
Here’s how it works:
- Categorization: schema helps Google categorize your pages faster, improving your click-through rate.
- Accuracy: it ensures your content is displayed correctly, especially for dynamic websites where content changes frequently.
Schema markup is especially beneficial for websites hosting dynamic content, as using a static schema won’t do much good if the content described in your structured data isn’t the one on the page.
If you’re new to the topic, you can check our guide on structured data for SEO to learn the basics of schema.org and how to implement it traditionally.
Related: 10 Ways to Get Your Website Indexed Faster
5 Types of Schema Markup for Dynamic Content Websites
1. ItemList Schema
A category page listing a series of items is one of the most important and common dynamic pages.
The best example of this kind of page is product categories.
These pages link out to many individual pages and group them into an easy-to-crawl page (or series of paginated pages).
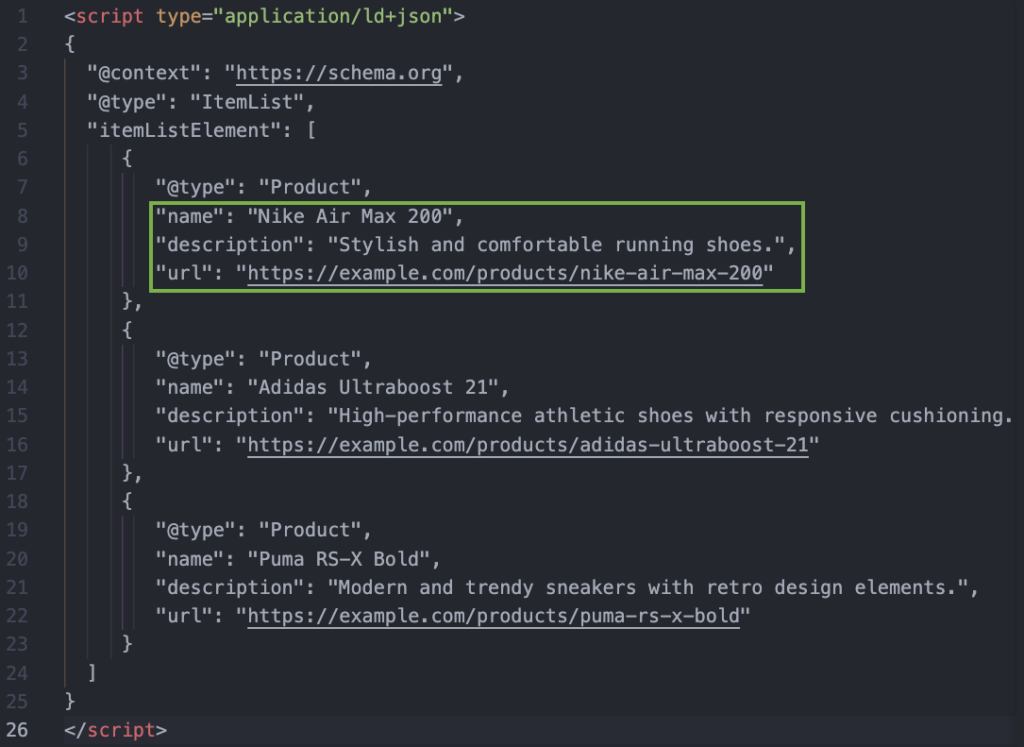
To help Google understand this type of page, we can use the ItemList schema, which allows you to create a list of related items or products on a web page.
Here’s what this looks like:
| { “@context”: “https://schema.org”, “@type”: “ItemList”, “itemListElement”: [ { “@type”: “Product”, “name”: “Nike Air Max 200”, “description”: “Stylish and comfortable running shoes.”, “url”: “https://example.com/products/nike-air-max-200” }, { “@type”: “Product”, “name”: “Adidas Ultraboost 21”, “description”: “High-performance athletic shoes with responsive cushioning.”, “url”: “https://example.com/products/adidas-ultraboost-21” }, { “@type”: “Product”, “name”: “Puma RS-X Bold”, “description”: “Modern and trendy sneakers with retro design elements.”, “url”: “https://example.com/products/puma-rs-x-bold” } ] } |
As you can imagine, you can use this markup for any website listing, including lists of job posts (good for job boards) or real estate listings.
2. JobPosting Schema
Job listings are constantly changing. Some jobs get filled, others get removed, and hundreds are constantly being added and updated, so it’s important to use the correct schema to help Google understand everything that’s on the page.
The JobPosting schema is a type of schema markup used to provide structured data for job listings, including job titles, descriptions, locations, and employment types.
Here’s what it looks like:
| { “@context”: “https://schema.org”, “@type”: “JobPosting”, “title”: “Front-End Developer with React Experience”, “description”: “We are seeking a skilled Front-End Developer with expertise in React to join our dynamic team.”, “datePosted”: “2023-07-24”, “validThrough”: “2023-08-15”, “employmentType”: “Full-Time”, “hiringOrganization”: { “@type”: “Organization”, “name”: “TechCo Solutions”, “sameAs”: “https://www.techcosolutions.com” }, “jobLocation”: { “@type”: “Place”, “address”: { “@type”: “PostalAddress”, “streetAddress”: “123 Main Street”, “addressLocality”: “Cityville”, “addressRegion”: “Stateville”, “postalCode”: “12345”, “addressCountry”: “USA” } }, “experienceRequirements”: { “@type”: “OccupationalExperienceRequirements”, “monthsOfExperience”: “24” }, “qualifications”: “Proficiency in HTML, CSS, JavaScript, and React is required. Previous front-end development experience is preferred.”, “responsibilities”: “Develop and implement user interfaces, collaborate with the design team, and optimize website performance.”, “baseSalary”: { “@type”: “MonetaryAmount”, “currency”: “USD”, “value”: { “@type”: “QuantitativeValue”, “value”: 70000, “unitText”: “YEAR” } }, “workHours”: “40 hours per week” } |
In addition, using the JobPosting schema can make your job listings eligible to appear on Google Jobs results.
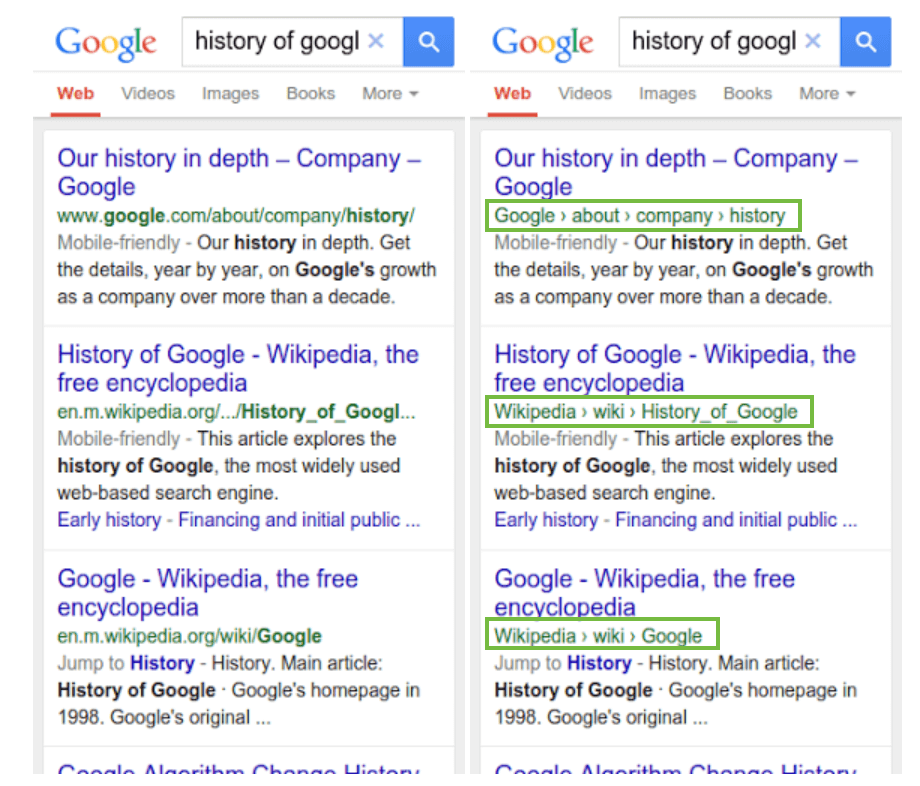
3. BreadcrumbList Schema
Alright, breadcrumbs are not dynamic pages, but they are dynamic elements. These chains of links help Google understand your site’s structure with a clear signal, as each chain specifies the path taken from the homepage to the page Google is currently at.

Source: Smashing Magazine
To give Google the full context of this element, we can use the BreadcrumbList schema, which helps create a breadcrumb trail, displaying the hierarchical structure of web pages.
Here’s what it looks like:
| { “@context”: “https://schema.org”, “@type”: “BreadcrumbList”, “itemListElement”: [ { “@type”: “ListItem”, “position”: 1, “name”: “Homepage”, “item”: “https://example.com” }, { “@type”: “ListItem”, “position”: 2, “name”: “Category Page”, “item”: “https://example.com/products” }, { “@type”: “ListItem”, “position”: 3, “name”: “Product Detail Page”, “item”: “https://example.com/products/product-name” } ] } |
With this schema, Google can also show the trail in search results:
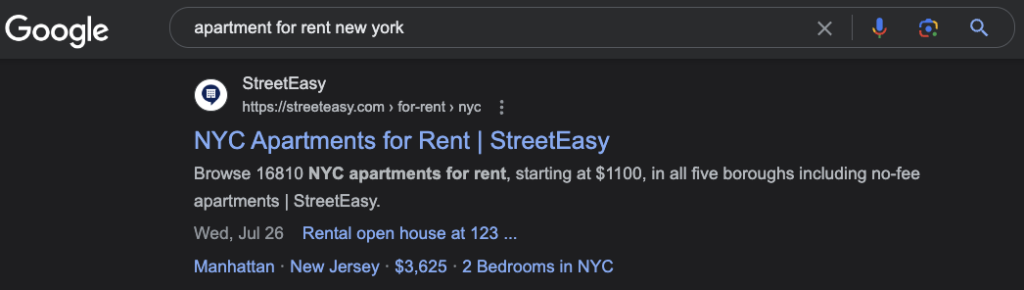
4. RealEstateListing Schema
Just like job listings, real estate websites have a tone of properties being updated, remove, and added constantly into their platforms, so having the right schema set can help them improve their search visibility and agile the crawling process.
For these pages, you can use the RealEstateListing schema, which provides structured data for real estate listings, including property details, location, and other relevant information for potential buyers or renters.
Here’s what it looks like:
| { “@context”: “https://schema.org”, “@type”: “RealEstateListing”, “name”: “Three-Bedroom Apartment in Florence”, “description”: “Spacious three-bedroom apartment located in the heart of Florence, Italy.”, “url”: “https://example.com/listings/123”, “image”: “https://example.com/images/apartment.jpg”, “floorSize”: { “@type”: “QuantitativeValue”, “value”: 120, “unitText”: “sq. meters” }, “numberOfRooms”: 3, “address”: { “@type”: “PostalAddress”, “streetAddress”: “Via Example 123”, “addressLocality”: “Florence”, “addressRegion”: “Tuscany”, “postalCode”: “50100”, “addressCountry”: “Italy” }, “price”: { “@type”: “MonetaryAmount”, “currency”: “EUR”, “value”: 250000 } } |
Google will use this information to show rich results for your links:

5. Table Schema
Tabular data is a powerful way to engage readers and showcase complex data in a digestible way, and it’s the most common format for dynamic data to be presented.
For example, Yahoo Finance shows their Forex data as a table:
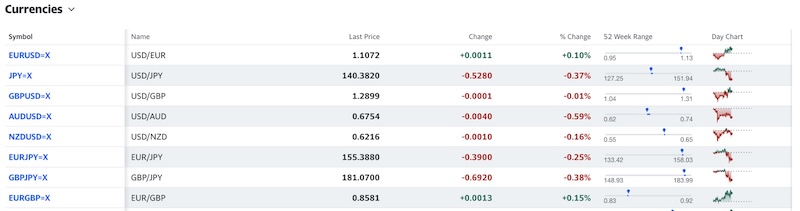
It’s also a very common way to add comparisons to a page.
To explain to Google what the table shows, we can use the Table schema, which allows you to provide context and organization for data on a page.
Here’s what it looks like:
| { “@context”: “https://schema.org”, “@type”: “Table”, “name”: “Shoe Comparison Table”, “description”: “A comparison table for two shoes based on price, quality, reviews, and shipping time.”, “tableSchema”: { “columnCount”: 5, “column”: [ { “name”: “Shoe”, “propertyID”: “name” }, { “name”: “Price”, “propertyID”: “price” }, { “name”: “Quality”, “propertyID”: “quality” }, { “name”: “Reviews”, “propertyID”: “review” }, { “name”: “Shipping Time”, “propertyID”: “shippingTime” } ], “row”: [ { “item”: [ { “@type”: “PropertyValue”, “name”: “Nike Air Max” }, { “@type”: “MonetaryAmount”, “price”: “$100” }, { “@type”: “PropertyValue”, “name”: “High” }, { “@type”: “Rating”, “ratingValue”: “4.5” }, { “@type”: “Duration”, “name”: “2-3 days” } ] }, { “item”: [ { “@type”: “PropertyValue”, “name”: “Adidas Ultraboost” }, { “@type”: “MonetaryAmount”, “price”: “$120” }, { “@type”: “PropertyValue”, “name”: “Very High” }, { “@type”: “Rating”, “ratingValue”: “4.8” }, { “@type”: “Duration”, “name”: “1-2 days” } ] } ] } } |
Rich snippets, when using the Table schema, can include additional information from the table, like individual data cells or summaries, making it easier for users to find relevant information directly on the search result page.
How to Implement Schema Markup Dynamically with Google Tag Manager
Of course, what’s the point of using these schemas if we have to update manually every time a new item gets added to a category page or a new property is submitted to our platform?
Now that we know which pages show dynamic content and what schemas we want to use, it’s time to make our schema work for us, and for that, we’ll be using Google Tag Manager.
Note: shout-out to Schemantra for this idea.
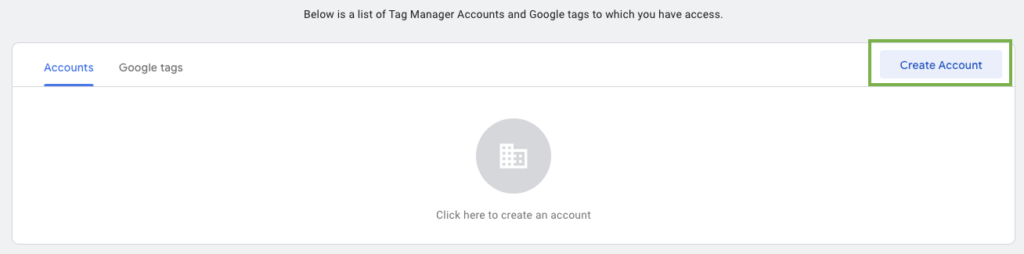
1. Create a Google Tag Manager account
The first thing you need to do is set up your Google Tag Manager account. This process is super simple and just requires some information from your end.
Log in with your Gmail, navigate to Google Tag Manager, and click “create account”.
Fill in the information required and choose “Web” as a target platform.
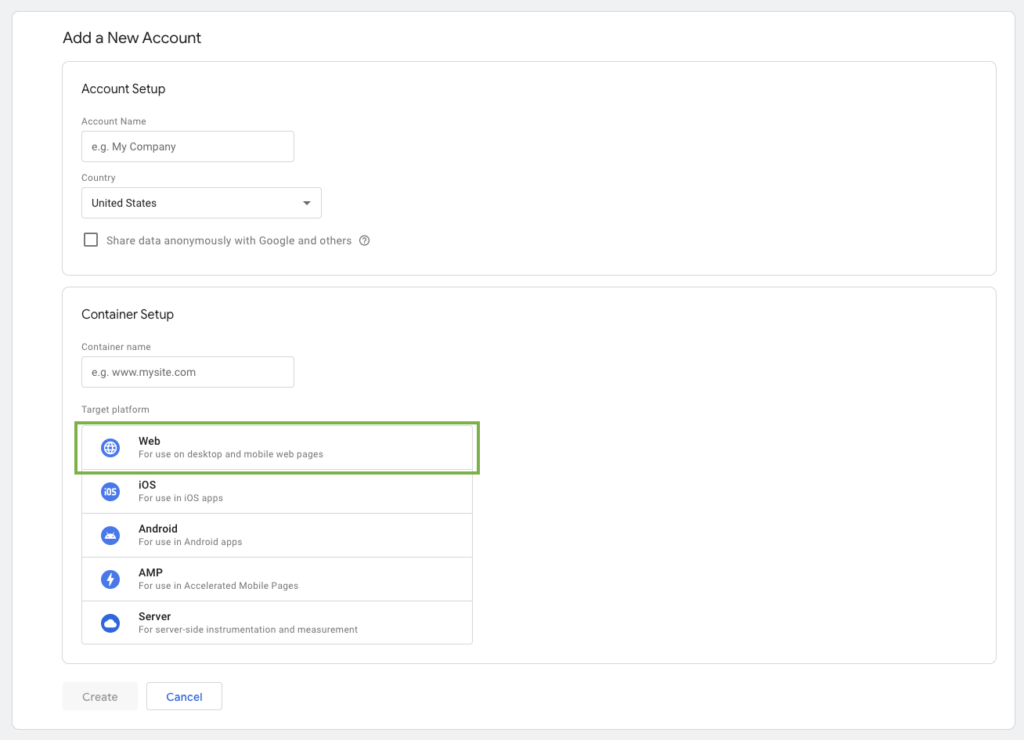
Once inside, you’re ready for the next step.
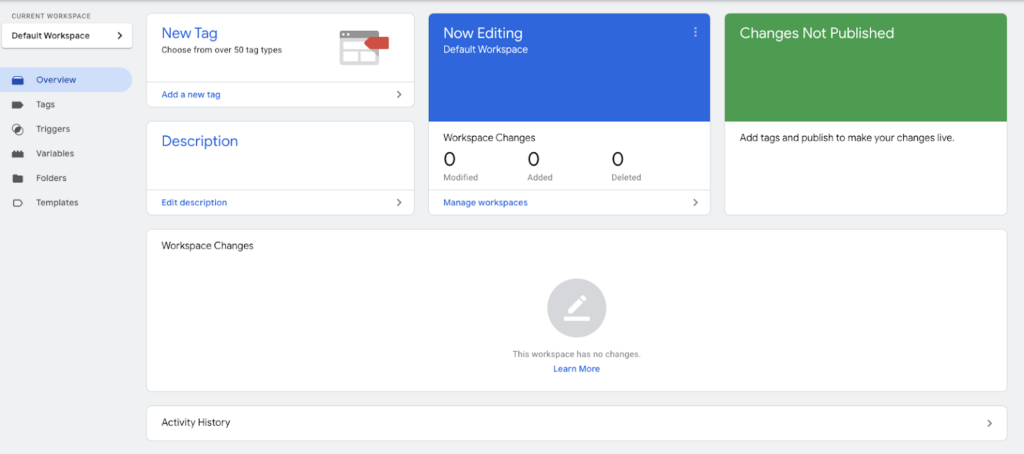
2. Create the Template for Your Schema Markup
For this example, we’ll use the snippet we wrote for the ItemList schema above, but feel free to use the schema best suited for your needs.
If you’re not sure how to write your template, check our article on structured data for SEO and follow the steps inside.
Here’s the snippet we will be using:
| <script type=”application/ld+json”> { “@context”: “https://schema.org”, “@type”: “ItemList”,”itemListElement”: [ { “@type”: “Product”,”name”: “Nike Air Max 200”, “description”: “Stylish and comfortable running shoes.”, “url”: “https://example.com/products/nike-air-max-200”}, { “@type”: “Product”,”name”: “Adidas Ultraboost 21”, “description”: “High-performance athletic shoes with responsive cushioning.”, “url”: “https://example.com/products/adidas-ultraboost-21”}, { “@type”: “Product”,”name”: “Puma RS-X Bold”, “description”: “Modern and trendy sneakers with retro design elements.”, “url”: “https://example.com/products/puma-rs-x-bold” } ] } </script> |
One important thing to keep in mind is that your template should be a real-world representation of the content on your pages.
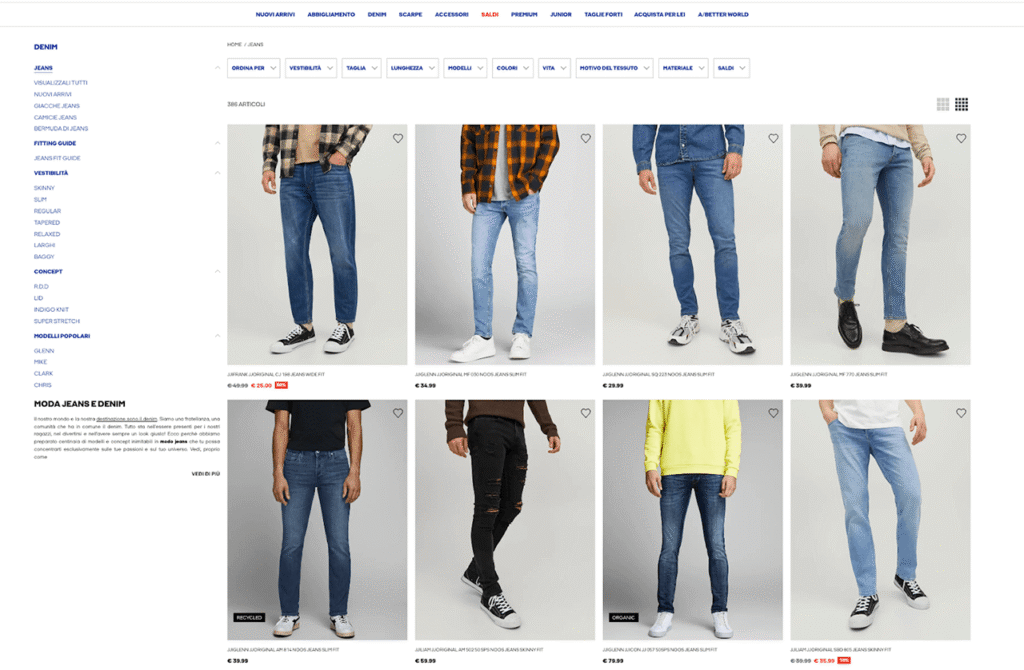
For example, Nike’s running shoes category page displays 62 shoes on a single page:

So for this template to work, it must be created to fit 62 items. If you have a category page showing 30 items at a time, your template should fit that number of items.
Note: We’ll stick to three for simplicity’s sake.
3. Identify the Dynamic Fields and Replace the Values with Variables
In other words, you’ll want to identify the different values that’ll be changing for every item. Which, in our case, are the name, description, and URL for every product on the page.
Instead of having a hard-coded value, let’s change them for a variable using double curly braces and a descriptive name. This will make our schema dynamic, as the variables can take any value.
| <script type=”application/ld+json”> { “@context”: “https://schema.org”, “@type”: “ItemList”,”itemListElement”: [ { “@type”: “Product”, “name”: “{{product_name_one}}”, “description”: “{{product_description_one}}”, “url”: “{{product_url_one}}”}, { “@type”: “Product”,”name”: “{{product_name_two}}”, “description”: “{{product_description_two}}”, “url”: “{{product_url_two}}”}, { “@type”: “Product”, “name”: “{{product_name_three}}”, “description”: “{{product_description_three}}”, “url”: “{{product_url_three}}” } ] } </script> |
4. Get the Target Information Using CSS Selectors
For our schema to work, we need to find a way to provide Google Tag Manager with the right information to inject into the schema template, and the way we do that is through CSS selectors.
Using CSS classes or IDs, we can tell our program where to find the information, and because pages from the same type use the same template, we know it’ll work across the entire site.
To simplify the process, let’s install SelectorGadget and open it on the page we want to markup and only work with the name of the product (but the process is the same for the rest of them).

The tool will display the recommended CSS selector at the bottom right of the screen when you click on an object.

As you can see, it has highlighted in green the element I clicked and in yellow all the other elements that I’m selecting using the CSS selector shown at the bottom.
However, for this to work dynamically, we need to make it more specific:

Now this CSS selector is only picking the first element of the page, and you can do the same thing for the rest of the items.
Important: You need to check that it’ll work on the rest of the pagination, which in this case it does.
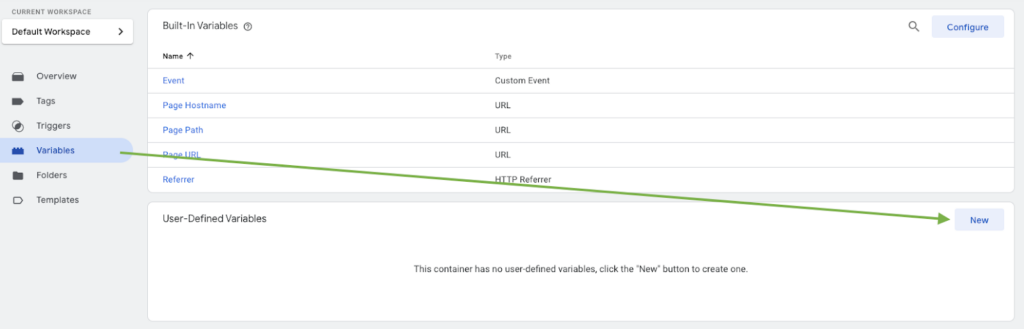
5. Create Your Variables in Google Tag Manager
Now that you have all your selectors, open tag manager, go to variables, and click on “new”.
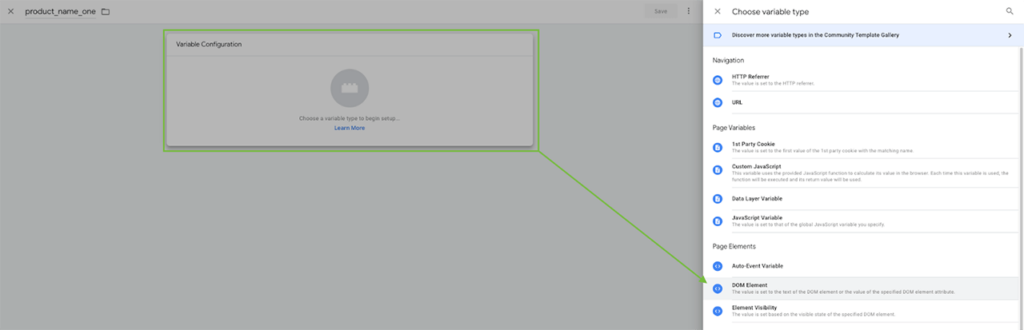
Next, click on the box in the middle and choose DOM Element as the variable type. You can also name your variable in this stage, we went with product_name_one to keep it descriptive.
From the dropdown menu, choose CSS selector and add the selector for the name – the one you found with SelectorGadget.
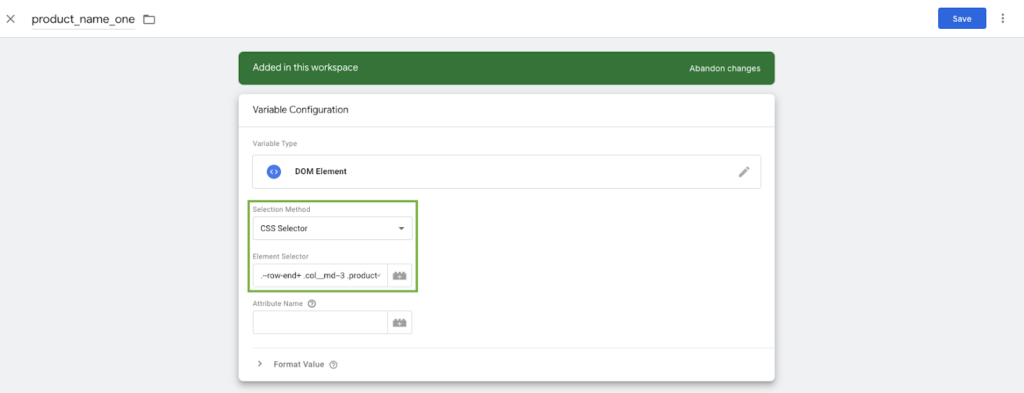
When using the DOM Element variable type, “the value is set to the text of the DOM element or the value of the specified DOM element attribute.”
Note: Explore the different types of variables available as they can help you get different information from the elements in your page. For example, the URL variable would get the Href’s value inside an element.
6. Deploy Your Schema
After configuring the variables and where they’re getting their data, it’s time to create a new tag.
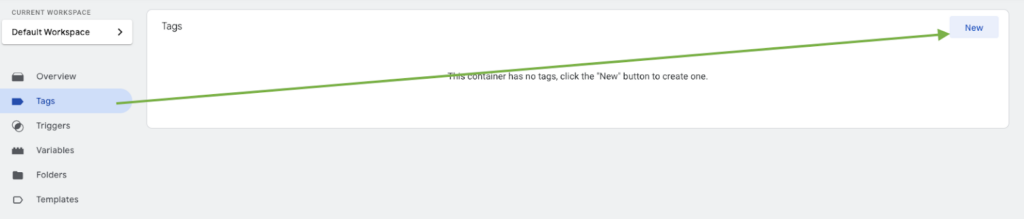
Click on “tag configuration”, choose custom HTML, and paste your template inside.
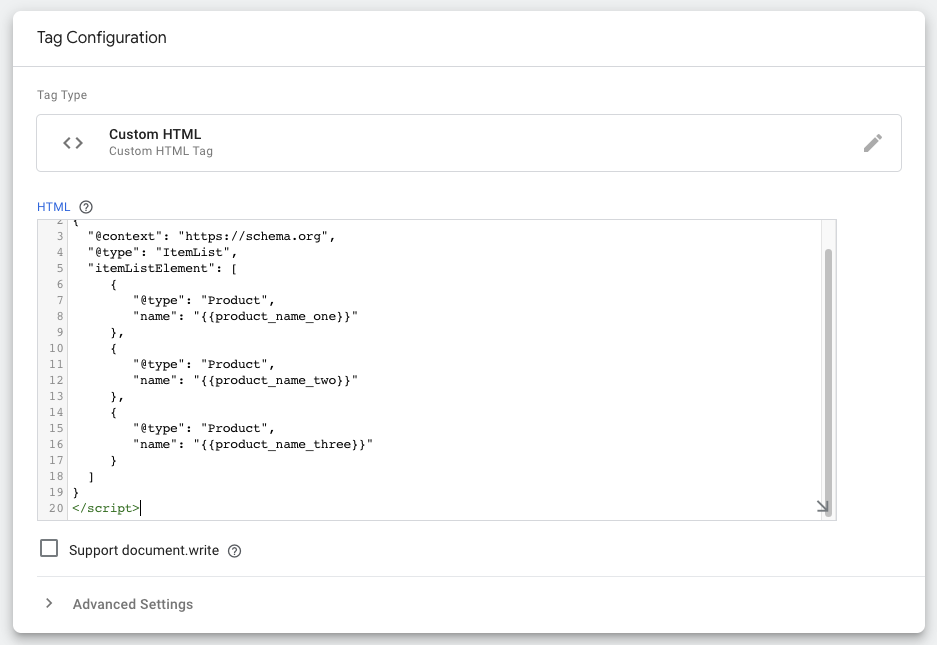
In this instance, we’ve only added the name variable as this is the one we’ve worked with, but you should place your entire template inside.
Next, let’s create a new trigger by clicking on the plus symbol.

For our trigger, we only want it to work when our user or Google finds the page, so let’s choose “DOM Ready” so once Google parses the page and the CSS selector from the first item is available, Google tag can fire the schema markup.

And there you have it. Now your product category pages’ schemas will update automatically to match your products.
Optimize Your Website with the Right Schema Markup
There’s a plethora of variable types and triggers you can use to make your schema scalable and sustainable, and because every website is unique, there’s not a one-size-fits-all configuration.
Depending on how your pages are constructed and the unique needs of the type of pages you want to markup, you’ll have to figure out what schema fits best.
Still, the process with GTM is always the same, so don’t worry about it.
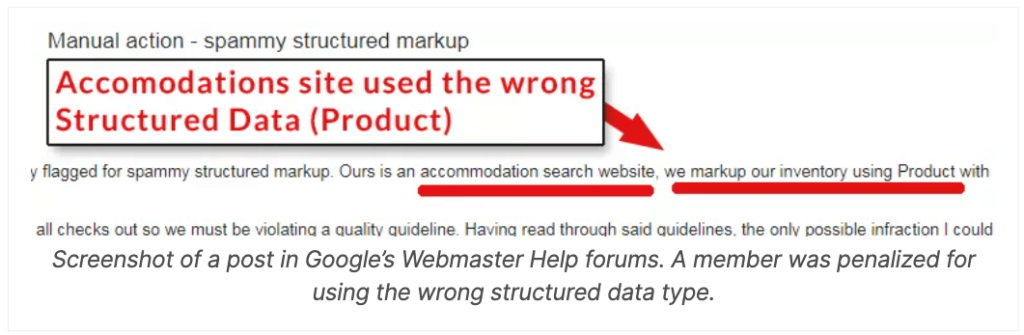
What’s really important is to make sure you’re using a schema that represents the content that’s actually on the page. Otherwise, it can be seen as you are trying to mislead Google, and they can penalize you for it.
Here’s a great article on the five mistakes to avoid when implementing schemas worth checking.
Schema markup is a tool to describe your content in a way Google and other search engines can understand, so using the wrong one makes everything more complicated.
Remember, it is a standardized code format for a reason, don’t use a markup designed for property listings to talk about products.
Check out other technical SEO tutorials from Prerender:
- How to Avoid ‘Discovered – Currently Not Indexed’ Google Indexing Errors
- Large-Scale Sites: How to Approach SEO on 1,000,000+ Pages
- Robots.txt Guide to Boost SEO: The Dos, Don’ts, and Examples
- How to Find and Eliminate Render-Blocking Resources Affecting Your Core Web Vitals
- Caching in JavaScript — How it Affects SEO Performance (for Developers)